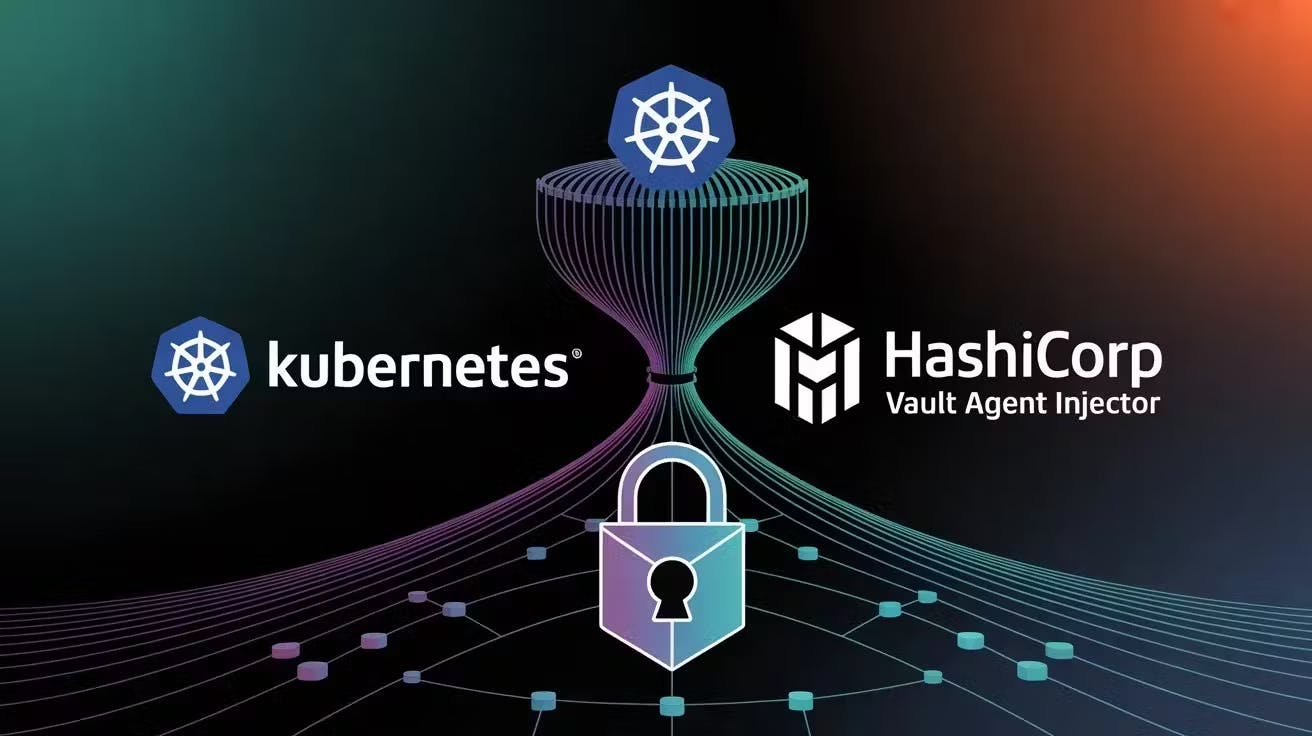
How Vault Works with Kubernetes?
Vault integrates with Kubernetes using the Kubernetes authentication method and the Vault Agent Injector.This enables secure, automated delivery of secrets into pods without hardcoding them or storing them in Kubernetes Secrets.
Benefits:
No need to expose secrets in Kubernetes Secrets or environment variables.
Supports dynamic secrets with auto-expiry and rotation.
Secure and auditable, with access governed by Vault policies
What is Vault Agent Injector?
The Vault Agent Injector is a Kubernetes Mutation Webhook Controller.It intercepts pod creation events and modifies pod specs if Vault annotations are detected.It adds:
An init container (vault-agent-init) to authenticate and fetch secrets
A sidecar container (vault-agent) that refreshes secrets as needed
A shared memory volume to store the rendered secrets
Vault Agent uses Vault Agent Templates to write secrets as files into the shared volume.
Application containers consume secrets from the shared volume, without needing Vault SDKs or environment variables.


Step 1: Create the EKS Cluster Without Any Node Groups
Create an EKS cluster without a node group using the eksctl command eksctl create cluster –name=devopstronaut –region=eu-west-1 –without-nodegroup. By default, eksctl creates a node group with m5.large instances, so we used the –without-nodegroup option to skip creating a default node group


Step 2: Create a Managed Node Group
Add a node group using the following separate eksctl command eksctl create nodegroup –name devopstronaut-node-group –cluster devopstronaut-cluster –region eu-west-1 –nodes 1 –nodes-min 1 –nodes-max 3 –node-type t3.medium


Explanation of the flags:
- — cluster: Specifies the name of the existing EKS cluster to which the node group will be added.
- — name: Names the node group for easy identification.
- — region: Specifies the AWS region.
- — nodes: Sets the initial desired number of nodes (in this case, 2).
- — nodes-min and — nodes-max: Define the minimum and maximum number of nodes for auto-scaling.
- — node-type: The EC2 instance type for the nodes (e.g., m5.large)
Step 3: Configure Context for EKS Cluster:
Set the Kubernetes context for the EKS cluster using the following command: aws eks –region eu-west-1 update-kubeconfig –name devopstronaut-cluster


Use kubectl get ns to view namespaces and kubectl get nodes to check the status of the nodes in the cluster, verifying that the setup is complete


Step 4:Install the Vault Helm chart
To add the official HashiCorp chart repository to your Helm client, run the this command helm repo add hashicorp https://helm.releases.hashicorp.com


This command registers the HashiCorp Helm chart repository so you can install Vault and other tools using Helm. After this, make sure to update your Helm repo list with helm repo update command


To install HashiCorp Vault on your Kubernetes cluster in development mode (for testing purposes only), use the following command: helm install vault hashicorp/vault –set “server.dev.enabled=true”


Execute the kubectl get pods command to display all the pods currently running in your active Kubernetes namespace


Look for a pod named something like vault-0that’s your Vault pod.
Run this command kubectl exec -it vault-0 — /bin/sh to open an interactive shell inside the vault-0 pod


Enable the KV version 2 secrets engine at the path devopstronaut using this command vault secrets enable -path=devopstronaut kv-v2


Store a secret at the path devopstronaut/myapp/config with the following key-value pairs using this command vault kv put devopstronaut/myapp/config username=”mahi” password=”password@123″


Retrieve the secret stored at the path devopstronaut/myapp/config using the command vault kv get devopstronaut/myapp/config


Step 5: Configure Kubernetes authentication in Vault
Enable the Kubernetes authentication method in Vault with this command vault auth enable kubernetes


Use this command vault write auth/kubernetes/config \kubernetes_host=”https://$KUBERNETES_PORT_443_TCP_ADDR:443″ to configure the Kubernetes API server endpoint in Vault


This sets the address Vault uses to validate service account tokens during Kubernetes authentication.
Create a Vault policy named devopstronaut-app that grants read access to the secret at the specified path using this command
vault policy write devopstronaut-app - <


Create a Vault role that permits Kubernetes service accounts to authenticate and retrieve secrets using the specified policy with the following command
vault write auth/kubernetes/role/devopstronaut-app \
  bound_service_account_names=devopstronaut-app \
  bound_service_account_namespaces=default \
  policies=devopstronaut-app \
  ttl=24h


**bound_service_account_names=devopstronaut-app**: Restricts access to this specific Kubernetes service account.**bound_service_account_namespaces=default**: Limits the access to thedefaultnamespace.**policies=devopstronaut-app**: Associates the Vault policy nameddevopstronaut-appwith this role.**ttl=24h**: Sets the lifetime of the generated token to 24 hours.
Create a Kubernetes service account named devopstronaut-app using this command kubectl create sa devopstronaut-app


This service account is used by your application pods to authenticate with Vault. Vault uses this service account’s identity to match it with the role you configured earlier (devopstronaut-app) and determine what secrets the pod is allowed to access based on the assigned Vault policy
List all the service accounts in the current Kubernetes namespace using this command kubectl get serviceaccounts


Step 6: Inject secrets into the New Pod
Deploy the BusyBox application using the following deployment configuration file (mahi-busybox.yaml)
#mahi-busybox.yaml

apiVersion: apps/v1
kind: Deployment
metadata:
  name: mahi-busybox-app
  labels:
    app: mahi-busybox-app
spec:
  replicas: 1
  selector:
    matchLabels:
      app: mahi-busybox-app
  template:
    metadata:
      annotations:
        vault.hashicorp.com/agent-inject: 'true'
        vault.hashicorp.com/role: 'devopstronaut-app'
        vault.hashicorp.com/agent-inject-secret-myapp-config.txt: 'devopstronaut/myapp/config'
      labels:
        app: mahi-busybox-app
    spec:
      serviceAccountName: devopstronaut-app
      containers:
        - name: busybox
          image: busybox:1.35
          command: ["sleep", "3600"]
Execute the kubectl apply -f mahi-busybox.yaml command to deploy the application using the mahi-busybox.yaml configuration file and run kubectl get pods to get the status of the pods including busybox application


Run kubectl exec -it mahi-busybox-app-76b89b8967-ncwpc — /bin/sh command to open an interactive shell inside the mahi-busybox-app-76b89b8967-ncwpc pod


To view and verify the injected secret, run cat /vault/secrets/myapp-config.txt


Step 7: Inject secrets into an Existing pod
Deploy the Nginx application using the deployment configuration file named nginx-app.yaml
#nginx-app.yaml
apiVersion: apps/v1
kind: Deployment
metadata:
  name: mahi-app
  labels:
    app: mahi-app
spec:
  replicas: 1
  selector:
    matchLabels:
      app: mahi-app
  template:
    metadata:
      annotations:
      labels:
        app: mahi-app
    spec:
      serviceAccountName: devopstronaut-app
      containers:
        - name: nginx
          image: nginx:latest
Execute the kubectl apply -f nginx-app.yaml command to deploy the application using the nginx-app.yaml configuration file


Run Kubectl get pods command to get the status of the pods including nginx application


Create a YAML snippet(secret-injects.yaml) containing annotations that activate Vault Agent secret injection for the pod template
#secret-injects.yaml
spec:
   template:
      metadata:
         annotations:
            vault.hashicorp.com/agent-inject: 'true'
            vault.hashicorp.com/role: 'devopstronaut-app'
            vault.hashicorp.com/agent-inject-secret-database-config.txt: 'devopstronaut/data/myapp/config'
Use kubectl patch deployment mahi-app –patch-file secret-injects.yaml command to apply the patch from the secret-injects.yaml file to the mahi-app deployment


Run kubectl get pods command and you can see the new pods will be created with vault inject


Run kubectl exec -it mahi-app-58d98f454f-s66tl — /bin/sh command to open an interactive shell inside the mahi-app-58d98f454f-s66tl pod


Run cat /vault/secrets/myapp-config.txt command to view and verify the injected secret


Conclusion:
HashiCorp Vault Agent Injector makes managing secrets in Kubernetes simple and secure. It helps deliver secrets directly into your pods without exposing them in environment variables or Kubernetes Secrets. By following the steps to set up Vault and configure your workloads, you can protect sensitive data while keeping your applications running smoothly.
Using Vault this way improves security and reduces the chance of secret leaks, making it a great choice for Kubernetes deployments.
Keep Learning, Keep Kubernet-ing!!!
If you found this guide helpful, give it a clap! 👏
For more insightful content on AWS,Cloud Native best practices, cloud security, devops and technology updates, don’t forget to follow me! 🚀
Feel free to reach out to me, if you have any other queries or suggestions.